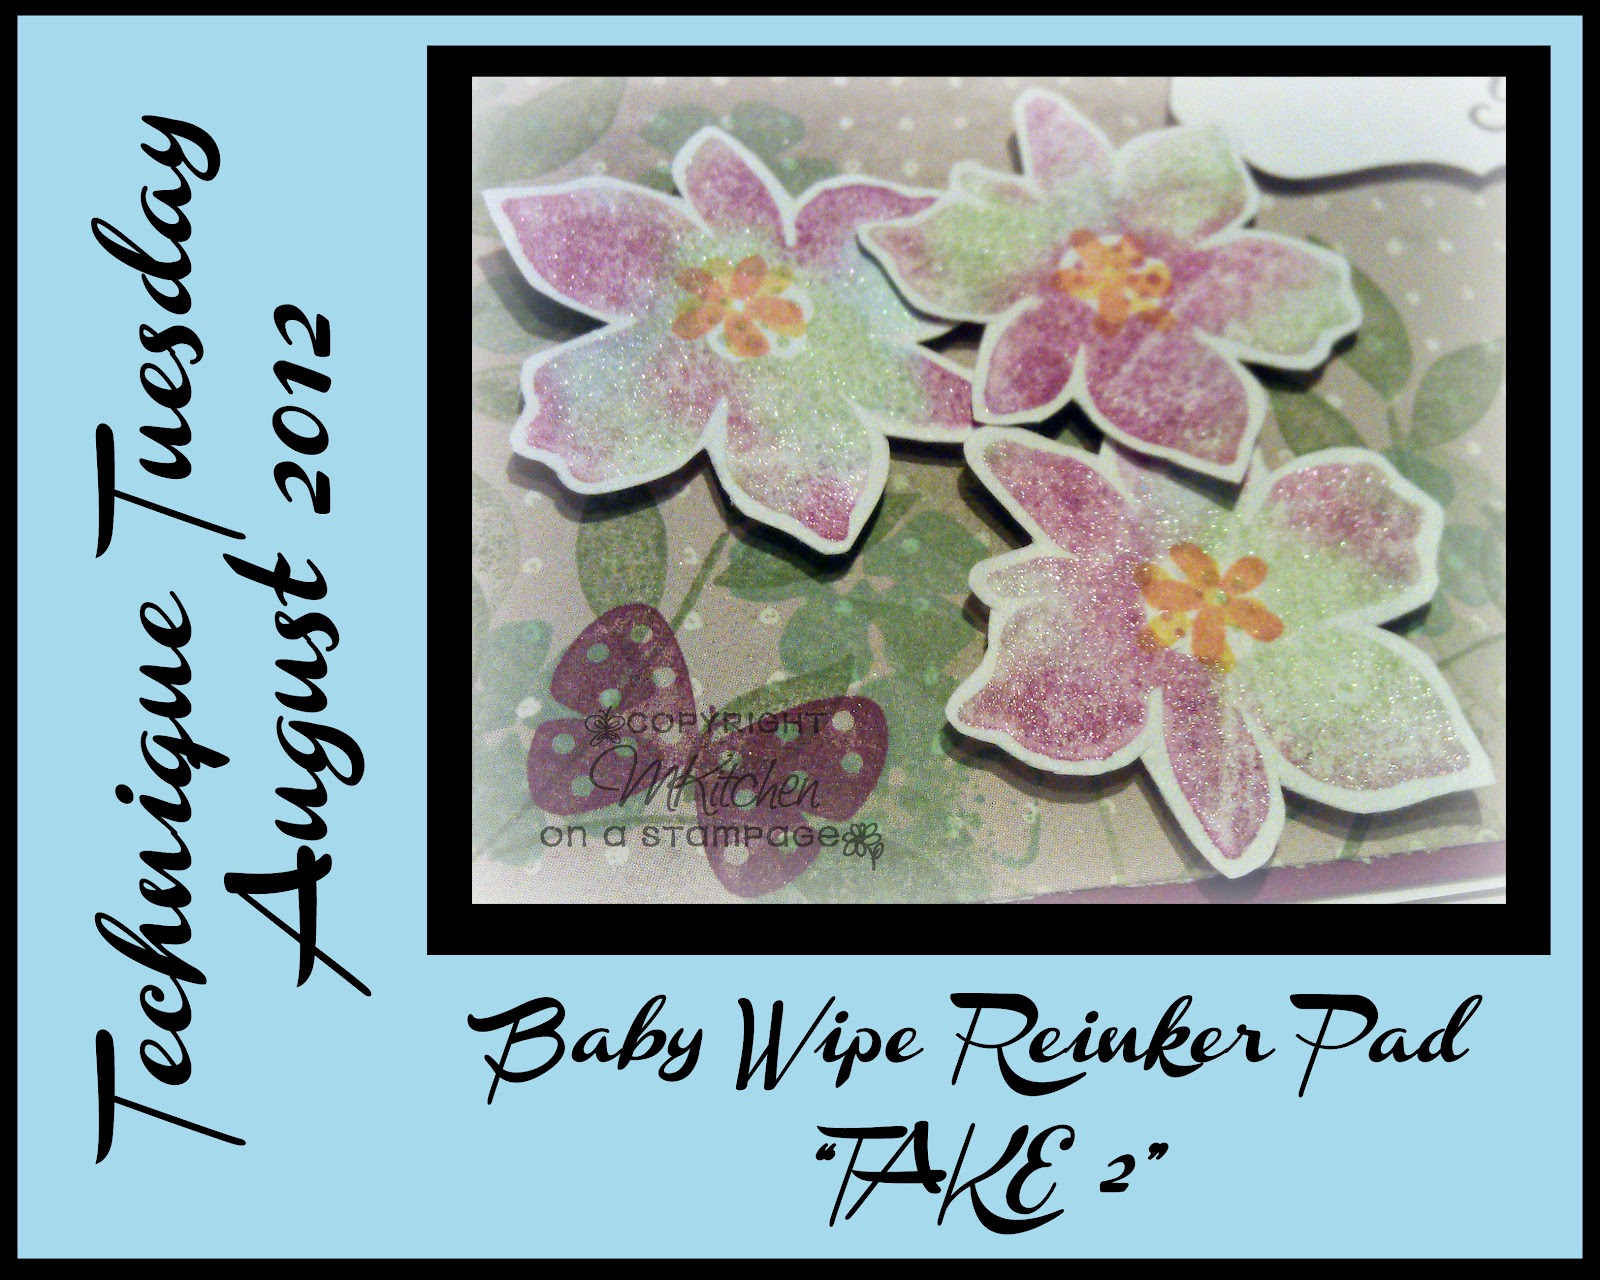
Welcome to a new month here at Technique Tuesday! I have a surprise for you all!!! In addition to a new challenge, I have a new CREW to introduce you to! That's right--now you'll get 5 examples of the technique each month! You'll get to meet these 4 gals more one on one throughout the month, but right now, please take a peek a their blogs!
Please welcome~
and last, but certainly NOT least
These ladies are all fabulous crafters and I am so excited to have them here working with me at Technique Tuesday!!! You'll get to see their first submissions here at the end of the post! Let's get down to business, shall we?!
Thank you to all who played along last month with the Cascading Card challenge--the winners will be announced on the 15th of this month!
August's Top Winner will receive 3 digital sentiments made by yours
truly, and each stamper who's card is showcased will receive 1 digital
sentiment made by yours truly! ;) Here's the best part--THE WINNERS get
to choose what they want their sentiment to say and what style! If
this doesn't sound like something you'd like, you could choose from some
sentiments that I already have made. :)
This
is how it will work--please email me within 5 days with the
sentiment(s) that you would like and choose from the following styles:
classic (ie Times New Roman type font), elegant (ie cursive font),
whimsical (ie swirly/kid type font), or fun (handwriting font). More
information will be mentioned when the winners are announced!
This month's technique is called Baby Wipe Reinker Pad! It's SO fun and easy--and I have a "Take Two" that I will be sharing sometime this month! :)
Baby Wipe Reinker Pad
Materials Needed
Reinkers (I've used 3, but 2 or more is fine)
Baby wipe
Large clear block (optional, but nice to have)
Bold imaged stamp
Cardstock
Embellishments, etc., to finish your project
"How To"
1. I like to start by putting my baby wipe onto a large clear block. This way, the reinkers don't make a mess of my desk and I am able to have a more sturdy base to ink my stamp onto. If you put the baby wipe on a towel or other paper, it tends to get soggy and you don't have a good foundation for stamping.
2. Start adding drops of your reinkers. Start with the lightest and then next darkest etc. until your mostly filled in a portion of the wipe. It's not necessary to ink the entire wipe, just a good sized portion to give variety to your ink splotches.
3. Take a bold imaged stamp (you won't see the effect with lined images) and PRESS into the ink pad. DO NOT TAP. I promise that if you press relatively hard that there will be more than enough ink on the rubber/acrylic to create a nice stamped image!
4. Stamp your images. Make sure to wipe your image off after each time you stamp. I use the side of the "ink pad" to clean my stamp off with. It's just more convenient and I'm lazy. ;) Change where you ink up your stamp on the baby wipe. No two images will be alike! It's awesome!
5. If you've used a two step image like I have, add your border/second stamp on top of your reinker image with a dark color--I've used black. TIP: I always stamp more than I need as the ink will dry out. This way, I have some ready made embellishments for another project!
6. Punch or cut our your images IF YOU HAVEN'T STAMPED DIRECTLY ONTO YOUR PAPER CARD. I've used an image that I have a punch to use with--it's so much easier than fussy cutting, but fussy cutting is cool, too! ;) You can also stamp your images right onto paper and not worry about the cutting part.
7. Choose your favorite images and add to your project. If you didn't need to punch/cut them out, add your panel to your project! I've made a card--what will YOU make?
And now, some inspiration from the Crew~
 |
| Front view |
 |
Side view
|
Please feel free to link up ANY TYPE of project that you wish using the above technique--we cannot WAIT to see your creations! Please make sure you read the rules before linking up! Their located under the Challenge Rules up at the top! Happy crafting! :)